To add a Blog Stripe:
The Blog stripe contains 3 blog items. Each item is assembled by an image, its text (title and body) and a label (link to the post).
1. To add a Blog, click on the blue '+' sign to add a stripe, and choose one of of the option under the 'blog' category. Click the green '+' to select.
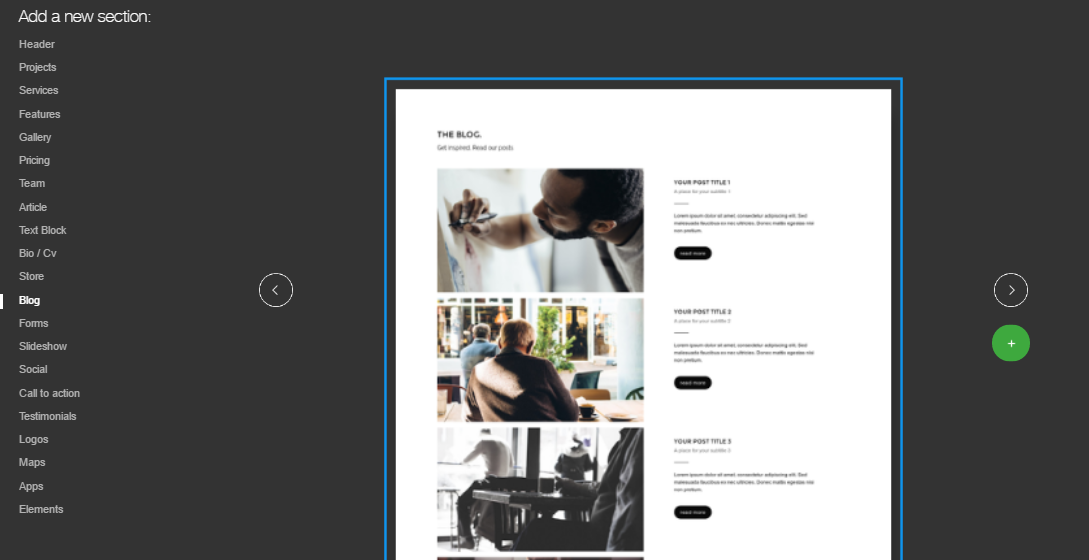
A default blog will appear.
2. To change the default image of an item and add yours, left click the item and choose Replace image.
3. To change the default text of an item, please see – Adding Text
4. To change the default link of an item’s label, left-click on the label, and click on 'link' (next to 'edit POST') in the first option in the menu.
Please note: Clicking the ‘edit POST’ will lead you to the page of the post on your site.
5. To manage the blog items, click on the gear icon to the right of the blog stripe, and click Manage.
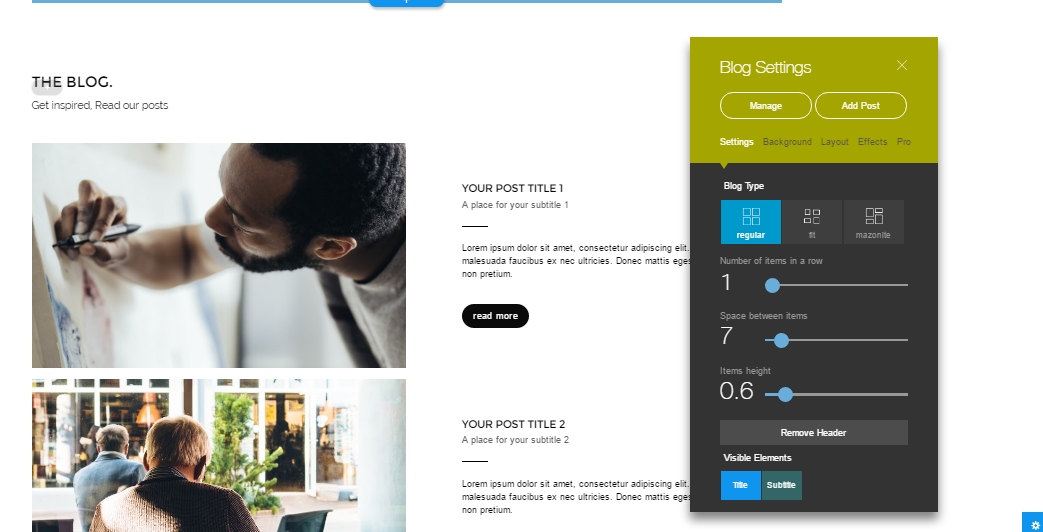
Adding blog items
To add more blog items, click 'Add Post', and a new blog item will be generated.
Removing blog items
Hover your mouse over an item, and click the 'x' twice to remove the item/
Reordering blog items
Hover your mouse over an item and click the arrows to reorder the blog items.
5. Click Done, to exit Manage Blog.
You can also switch the design of the stripe altogether, see more in our post Switching Designs


